 |
| Fig.1 Supplies |
By Gary Boutin
Tools and Supply:
Birds of Paradise dried flower (free)
Matches
Rubber bands (2) free
String (parcel)
White nylon rope
Wood branches (free)
Wood glue
This post shows how to make a paint brush from scratch using material that are all around you. The handle of this brush is part of tree branch which was free and a curved handle was chosen to make it different than standards straight brushes. The brush itself is from a Bird Of Paradise dried flower. The flowers are at first held by two rubber bands in the beginning and later replaced with parcel string. The handle has a layer of thicker twine to give it more comfort and control. This post has two parts the first shows how the brush was made. The second show does the brush work, how it works with paint and does it work well enough for your art studio. This brush will not have the same life as a store bought brush because it is made of totally nature made materials.
This post shows the five steps of making an Bird of Paradise Art Brush.
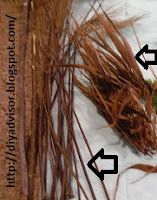
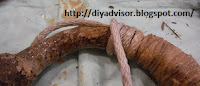
Step 1: Fig.1 shows the tree leaves sticks and bird of paradise flowers. The arrow point to the tree branches used in the handle of these brushes.
Fig.2 shows the parts of the brush that have not been put together yet.
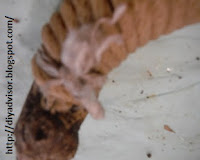
Fig.3 shows the arrow points to the rubber bands that held the
flowers in place until the twine was wrapped around the flowers and the
wood branch handle.
Fig.3 and
fig.4 shows the first step is to take the flowers together and make a bunch to add them to the wooden branch.
Fig.5 shows the second rubber band was used to apply pressure to the end of the dried flowers.
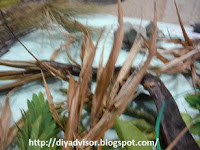 |
| Fig.2 Weeds |
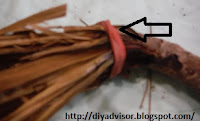 |
| Fig.3 First rubber band |
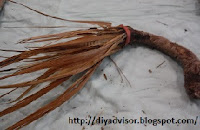 |
Fig.4 Place the
flowers on the end |
|
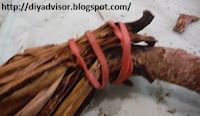 |
Fig.5 Second
rubber band |
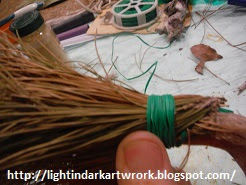
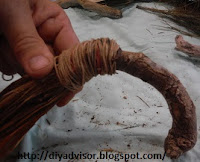
Step 2: Fig.6 shows that once the flower are held in place by the parcel string a wood glue painted on the twine.
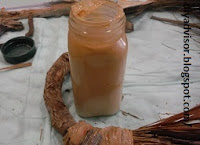
Fig.7 shows the wood glue placed in a small bottle.
 |
| Fig.6 String |
 |
| Fig.7 Wood glue |
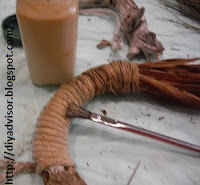
Step 3: Fig.8 shows that a larger nylon rope is being added to the curved wood branch handle.
Fig.9 shows another layer of wood glue was added to the brush handle.
 |
| Fig.8 Rope handle |
 |
| Fig.9 Glue to handle |
Step 4: Fig.10 and
fig.11 shows that a second layer of glue was added to the brush handle. the front and back of the decorated magazine holder.
Fig.11 shows that the bottom end of the rope was tied and tucked in to prevent unraveling.
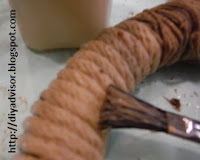 |
Fig.10 Finishing
the handle |
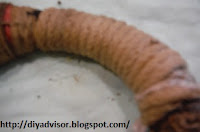 |
Fig.11 Tucking
the ends |
Step 5: Fig.12 shows that the ends of the nylon rope needs to be melted. At the beginning and at the end of the twisted twine there are two ends that needed to be sealed. Melting the loose leads of the nylon twine by using flames from matches will prevent the plastic rope from coming intertwined.
 |
| Fig.12 Matches |
The second part of this post will show how this bird of paradise brush
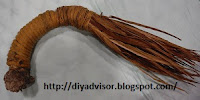 |
| Fig.13 Flower brush |
How to Make a Bird of Paradise Art Brush
- Cookie Alert: European Union laws requires that you know that this blog uses cookies. If you are concerned about this please click here to see how Google uses this information.
Note: Light in Dark Artwork assumes no liability for omissions, errors or the outcome of any Artist projects. All rights reserved. © Copyright 2011-